Housing for a Pi Zero & an OLED
A while ago, I became absolutely fascinated with cyberdecks. On my journey to design and build my own, I started small, and this is the result:
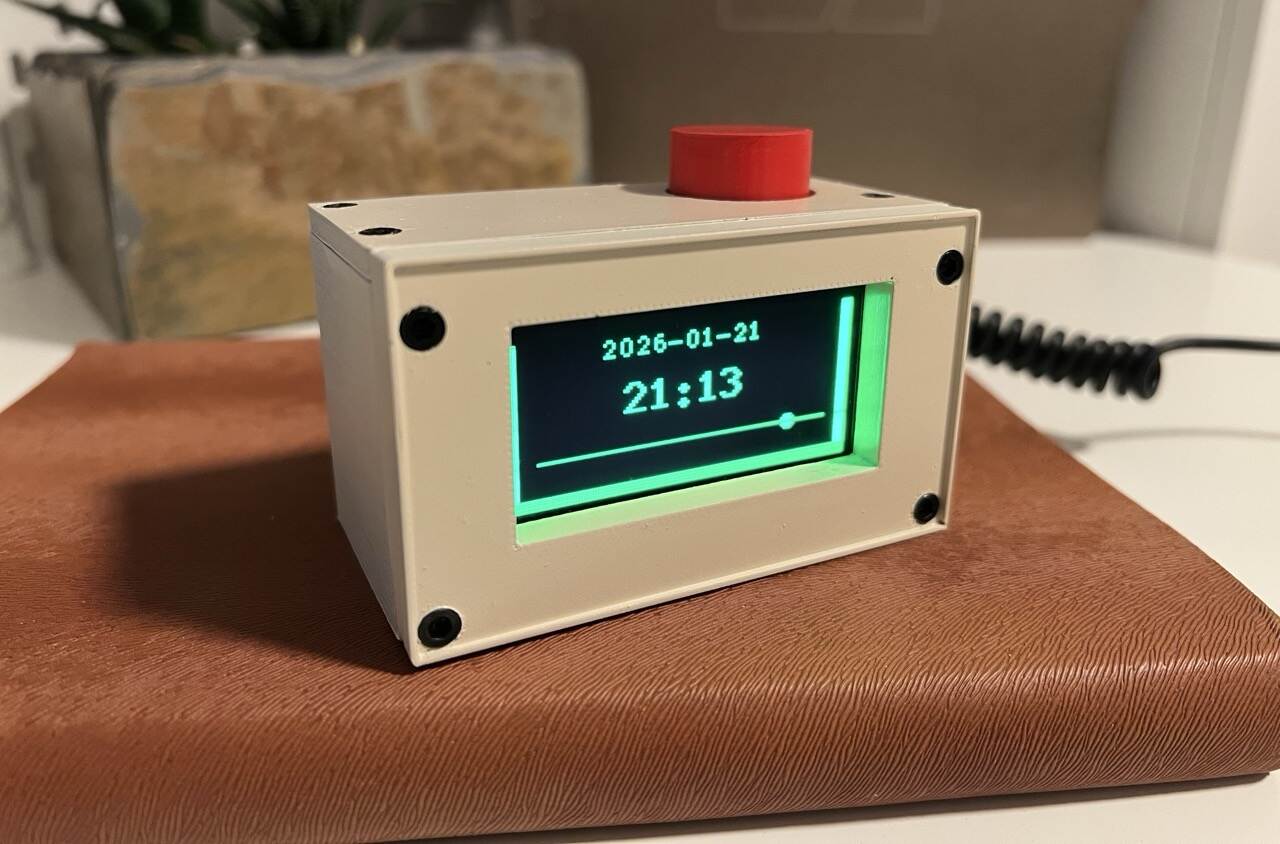
It's a 3D-printed housing for a Raspberry Pi Zero W 2, an SSD1309 OLED display, and a rotary encoder for navigation.
Before this, I used Blender to design my custom 3D-printed things, simply because I'm familiar with Blender and was a little intimidated to learn CAD. But then I discovered FreeCAD and thought it would be a good time to actually try it. It was so worth it. It took about two days, and I won't go back to Blender.
Features
The Retro Cube has three views. You can switch between them by rotating the dial. If you press it down, the display turns off completely, which can be useful at night. The three views are:
- Clock
- Weather dashboard
- Message
The first two are rather basic, but the last one is the most interesting.
There is a server running at retro-cube.jflessau.com serving a basic-auth-protected endpoint that returns a text message.
The Pi fetches that text at a configurable interval and displays it in the respective view. The second endpoint of the server is a web form where users can change the message.
Wanna Say Hi?
If you want to say hi or something else, go to retro-cube.jflessau.com/form, log in with
user: retro
password: cube
and send something :)
Update: There is now another way to say hi. You can also send a message that gets printed on the thermal printer on my desk.
And in case you want to build your own Retro Cube, head over to the repo for the code, STL files for printing, and a list of parts.
Inbox
There were many messages, and more than 90% were just sweet and heartwarming. This restored quite a bit of my faith in people on the internet. Most of the people out there are actually nice.
I'm somewhat impressed that a little toy project like this had such a profound effect on me.
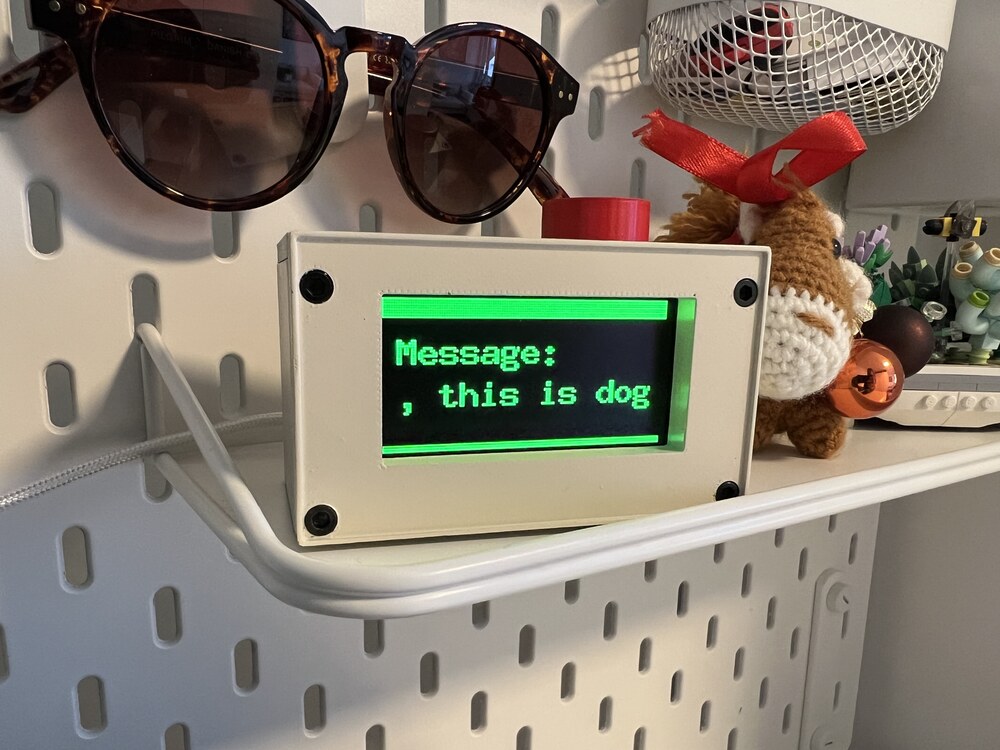
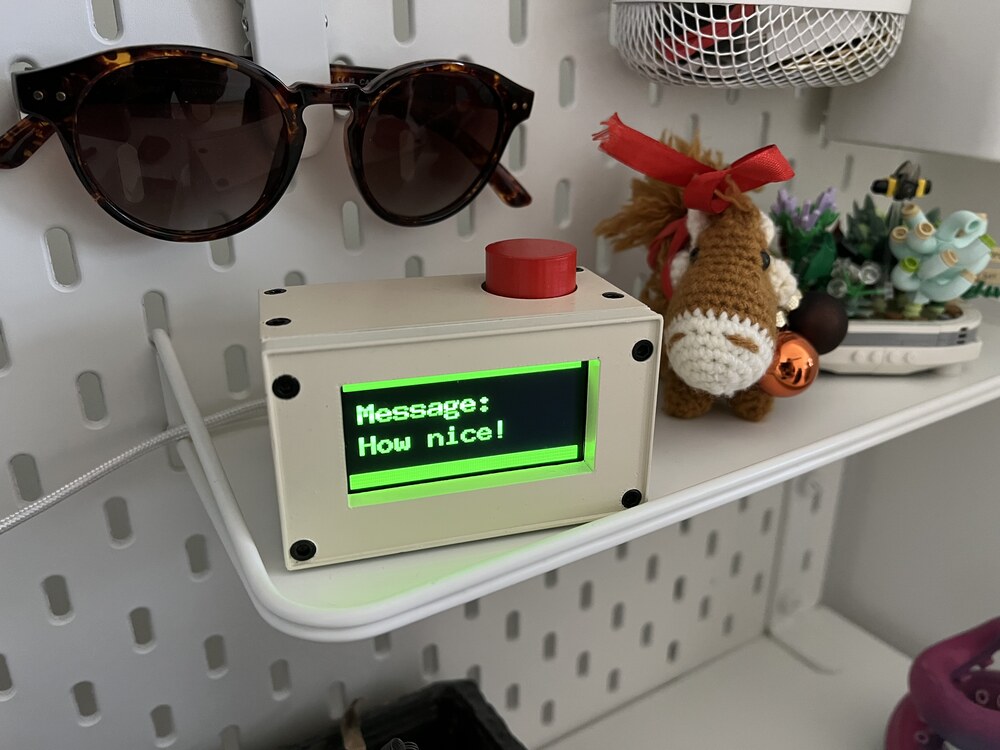
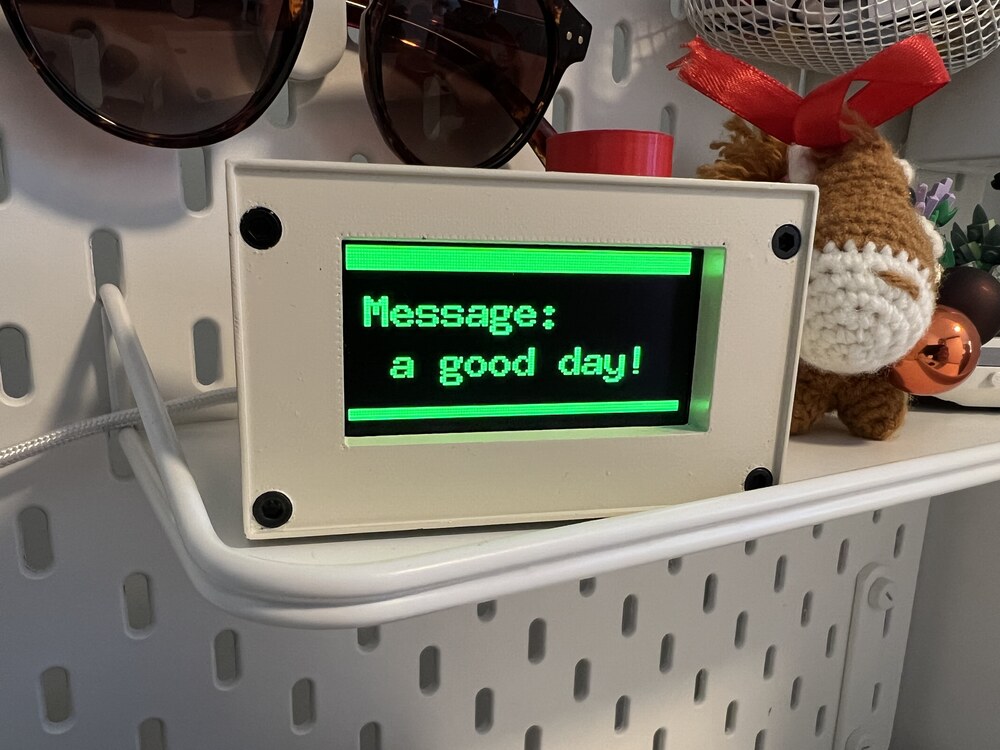
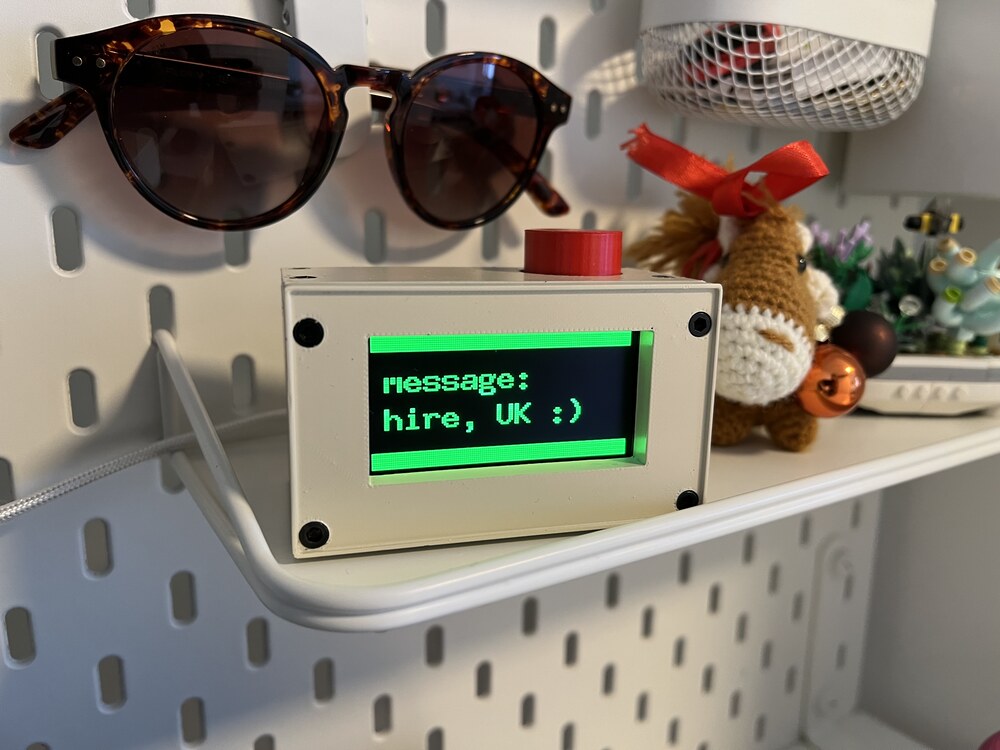
To give you an impression, here are some of the messages that came in. Some are cut off because of the limited display size. But when displayed, they are shown in their entirety by scrolling the text.
"How nice!"
"Have a good day!"
Greetings from UK
"Hello, this is dog"